[ez-toc]
Introduction
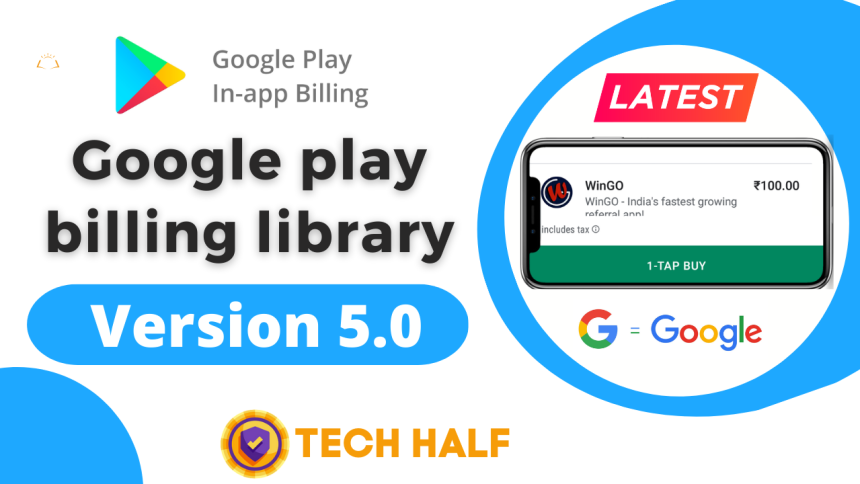
Google Play billing is a library provided by Google. There are many features of this Library by using this Library you can integrate a payment system into your app. You can add subscriptions to your app and also you can add donate option to your app. There are many other things that you can do with this.
This is officially provided by Google and you can use it in your app and integrate the methods of billing you can use according to your app need. Many libraries were provided by Google in the past and there are different variants of libraries the latest version of the library is Version 5 so today we are implementing Version 5 into our app.
Play Billing Version 5 Library
Today we are going to implement Google Play billing version 5 Library. There are two methods for implementing the Google Play billing Library into your Android app. One is for the official Google Play billing library and one is for using GitHub third-party Library.
So we are going to implement the Google Play billing version 5 Library by using the second method I mean third-party GitHub Library. This is a fully secure method your app is fully functional. We are using this method because this is very easy to implement this code is very very simple. Also, I upload a video you can see here and you can copy the code and Implement it into your app.
Subscription Vs Donation
The two most common differences are subscription vs donation. Subscription means you allow the user to subscribe to specific content for a specific time. Donation means you allow the user to buy or donate to you again and again. These are two different terms and two different methods of implementation.
Today we are implementing donation means we allow users to donate again and again and we don’t need to check from Google API whether it has already been purchased or not because this is a donation and users can donate more than once.
Code for Implementing Play Billing Version 5
I provide you with the whole code on how you can implement this Library into your Android app. I also make a video on this and you can see the video. If you want more explanation of how it works you can command below. If you have any problem you also can comment below or visit our Forum website. You just need to copy the code and follow the steps to integrate this code into your Android app. It’s very simple and easy to understand so I hope you like it.
Read More: EVENT BLOGGING IN 2023 | Earn 100$ Daily
Today we implement code for donation and if you also want to add a subscription to your apps you can comment below. I make a tutorial for this also I hope to enjoy this code.
Step 1
In our first project, we are adding this Github library to our Android project.
//Add Library to your Project by TechHalf.net
implementation 'com.github.akshaaatt:Google-IAP:1.2.5'
Step 2
In the second step we are checking our billing client is ready to connect.
MutableLiveData<Boolean> isBillingClientConnected  = new MutableLiveData<>();
isBillingClientConnected.setValue(false);
Step 3
In the third step, we are declaring 3 lists of Strings one for consumable one for non-consumable, and one for a subscription. The details of these types of Strings I already explained at the top of this article.
Here you can use the consumable list according to the IDS you are already made in the play console account add this ID according to the number of products you have.
List<String> nonConsumablesList = Collections.singletonList("lifetime");
List<String> consumablesList = Arrays.asList("1dollar", "2dollar", "3dollar", "4dollar", "5dollar","6dollar");
List<String> subsList = Collections.singletonList("subscription");
Step 4
In this step four we are adding the licence key provided by the play console on the developer account. just copy the licence key and paste it here. I am using the resources string to add the licence file you can add it directly here or use the as-it-is string method to add the file.
IapConnector iapConnector = new IapConnector(
                this,
                nonConsumablesList,
                consumablesList,
                subsList,
               getResources().getString(R.string.license_key),
                true
        );
Step 5
In this type 5 we are adding this score to get a response if any error occurs in our Android. By using this you’re able to get the response in the form of Toast in your application.
iapConnector.addBillingClientConnectionListener((status, billingResponseCode) -> {
          Log.d("KSA", "This is the status: "+status+" and response code is: "+billingResponseCode);
          isBillingClientConnected.setValue(status);
      });
Step 6
In this step six we are showing Toast to our users if the Purchase is successful. You can show specific toast for specific products according to the ID of the product.
iapConnector.addPurchaseListener(new PurchaseServiceListener() {
           public void onPricesUpdated(@NotNull Map iapKeyPrices) {

           }
           public void onProductPurchased(@NonNull DataWrappers.PurchaseInfo purchaseInfo) {
               if (purchaseInfo.getSku().equals("1dollar")) {
                   Toast.makeText(app_billing.this, "Thanks For Donate", Toast.LENGTH_SHORT).show();

               } else if (purchaseInfo.getSku().equals("2dollar")) {
                   Toast.makeText(app_billing.this, "Thanks For Donate", Toast.LENGTH_SHORT).show();

               } else if (purchaseInfo.getSku().equals("3dollar")) {
                   Toast.makeText(app_billing.this, "Thanks For Donate", Toast.LENGTH_SHORT).show();
               } else if (purchaseInfo.getSku().equals("4dollar")) {
                   Toast.makeText(app_billing.this, "Thanks For Donate", Toast.LENGTH_SHORT).show();

               } else if (purchaseInfo.getSku().equals("5dollar")) {
                   Toast.makeText(app_billing.this, "Thanks For Donate", Toast.LENGTH_SHORT).show();

               }  else if (purchaseInfo.getSku().equals("6dollar")) {
                   Toast.makeText(app_billing.this, "Thanks For Donate", Toast.LENGTH_SHORT).show();

               }
           }

           public void onProductRestored(@NonNull DataWrappers.PurchaseInfo purchaseInfo) {

           }
       });
Step 7
In this type 7 we are adding the list of subscription products. Here you can see this subscription list is empty because I am not closing any product that using the subscription. I am only making this app for donating option so it does not have any subscription option.
iapConnector.addSubscriptionListener(new SubscriptionServiceListener() {
         public void onSubscriptionRestored(@NonNull DataWrappers.PurchaseInfo purchaseInfo) {
         }

         public void onSubscriptionPurchased(@NonNull DataWrappers.PurchaseInfo purchaseInfo) {
             if (purchaseInfo.getSku().equals("subscription")) {

             }
         }

         public void onPricesUpdated(@NotNull Map iapKeyPrices) {

         }
     });
Step 8
In step 8 we added on click listener to purchase the product.
one.setOnClickListener(new View.OnClickListener() {
            @Override
            public void onClick(View view) {
                iapConnector.purchase(app_billing.this, "1dollar");
            }
        });
        two.setOnClickListener(new View.OnClickListener() {
            @Override
            public void onClick(View view) {
                iapConnector.purchase(app_billing.this, "2dollar");
            }
        });
        three.setOnClickListener(new View.OnClickListener() {
            @Override
            public void onClick(View view) {
                iapConnector.purchase(app_billing.this, "3dollar");
            }
        });
        four.setOnClickListener(new View.OnClickListener() {
            @Override
            public void onClick(View view) {
                iapConnector.purchase(app_billing.this, "4dollar");
            }
        });
        five.setOnClickListener(new View.OnClickListener() {
            @Override
            public void onClick(View view) {
                iapConnector.purchase(app_billing.this, "5dollar");
            }
        });
Read More: How to write blog rygar enterprises | rygar enterprises
Conclusion
In conclusion, as you know no one online teaches you how to add this library to your Android app. I am the first one to realize the problem and provide you with a solution. you can use this code to add this library to your app very easily in some simple steps. I hope you like this article if you have any queries or questions you can comment below.






Thanks its works